Enable multiple users
The base installation instructions install a complete working application for a single person.
If, after you’ve installed the base application, you want to allow multiple people to access it, these instructions will show you how to enable login accounts.
Step 1: Configuration
In the config.toml file in your installation folder,
change the web.auth setting from none to login.
[web]
auth = 'login'
After making changes to your configuration file, restart the application:
./nextpyp stop
./nextpyp start
sudo systemctl restart nextPYP
Step 2: Setup
When in login mode, the application will require some first-time setup to create
the first administrator account.
Open the application website in your browser. Then change the url in the address bar
by replacing the /#/dashboard part with /#/admin. This will load the hidden administration page.
For example, if you access the website at the url https://nextpyp.myorganization.org, then the URL
for the administrator page will be https://nextpyp.myorganization.org/#/admin.
Once on the page, you will be greeted with a page like the following.
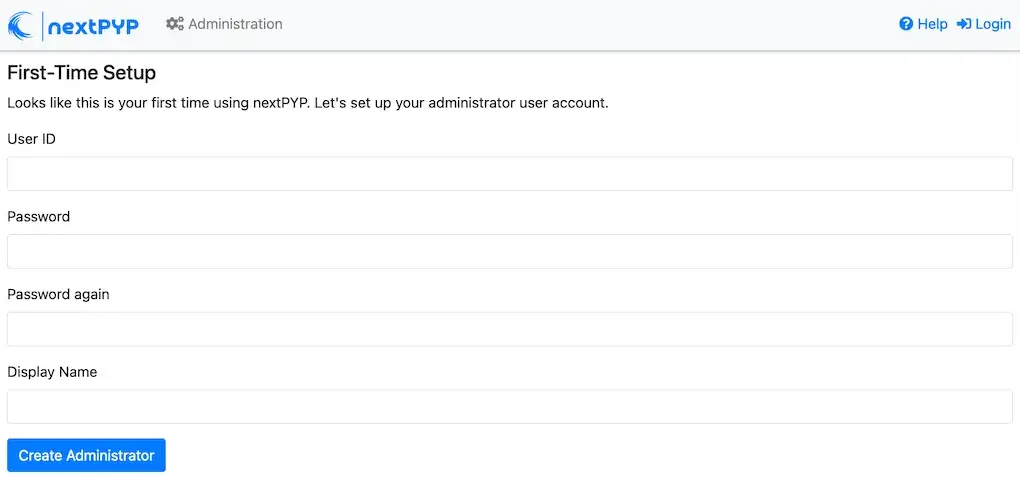
Fill out the form, click Create Administrator, and you’ll make the first administrator account.
Tip
See the Administration section for information on how to create and manage users and groups in nextPYP.
From now on, to access the website, you’ll need to login with your account name and password.
Optional: Connect nextPYP users to Operating System users
Starting with v0.7.0, nextPYP allows you to connect user accounts to the operating system.
When a connected user runs a job in nextPYP:
The job processes will run as the connected operating system user, rather than the service account.
The files created by the job will be owned by the operating system user, rather than the service account.
The user’s jobs will respect any resource quota system that your computing center may have in place for that user, like filesystem storage limits, or SLURM resource privileges.
File sharing between users will be controlled by the filesystem configuration, rather than
nextPYPconfiguration, so it will be possible to prevent users from accessing each others files when browsing the filesystem directly.
Connecting a nextPYP user to an operating system user requires an administrator to perform a couple steps:
Create a
user-processorexecutable file for that user.The
user-processorexecutable is a small program thatnextPYPuses to run commands as an operating system user, rather than the service account. It works by using the setuid feature of the Linux operating system to grant access for one user to run a program on behalf of another user without needingrootor administrator privileges.To create the
user-processorexecutable for an operating system user, while logged into the machine wherenextPYPis installed, run the command:sudo nextpyp user-add <username>where
<username>is the name of the operating system user (not thenextPYPuser).Similarly, you can remove a
user-processorexecutable with the comnand:sudo nextpyp user-remove <username>Configure the
nextPYPuser to use the new executable.In
nextPYP, on the administration page, go to the “Users” tab. Pick a user you’d like to associate with an operating system user and edit that user. In the “OS Username” box, enter the name of the operating system username and then click Check.If the
user-processorexecutable file does not exist or not have the right filesystem settings, the check will fail and the UI will display detailed reasons why. Otherwise, the check will pass. For a passed check, your screen should look similar to the following: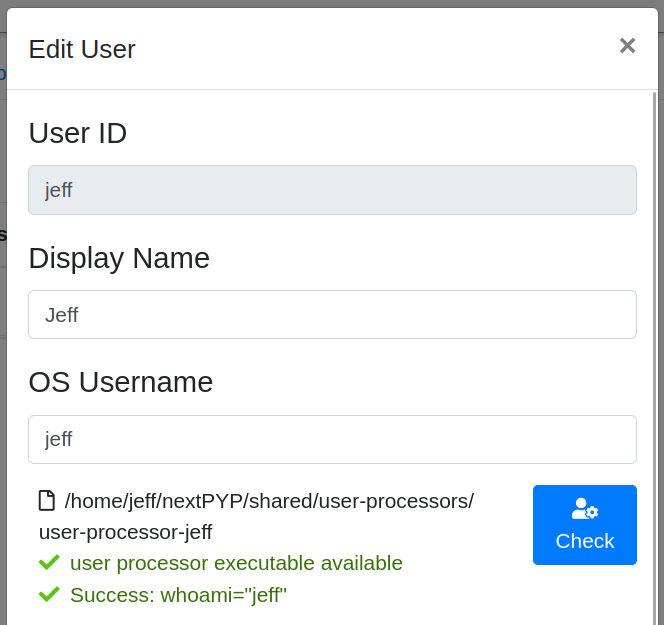
The edit user panel showing a successful
user-processorexecutable check.¶Click Save to save your changes to the user. Once saved, the association between two user accounts is complete. The new account settings will take effect the next time that user creates a project.
Warning
Unfortunately, operating system user changes cannot be retroactively applied to any existing projects for the user, since the files in an existing project have already been created.
To break the association between a
nextPYPuser and an operating system user, remove the username from the “OS Username” box and Save your changes. Again, the account (dis)association will only take effect the next time that user creates a new project.
Getting help
Getting nextPYP installed and working correctly can be tricky sometimes,
especially since everyone’s needs are just a little different.
We’ve done our best to build an install process that’s flexible enough to work in many different environments,
but sometimes things still might not work out perfectly.
If you have questions, need clarification on any of the installation options, or are just looking for a little help getting through the installation, don’t hesitate to reach out using one of the options listed in the Getting help section.