Filter micrographs/tilt-series
Filters allow users to select a subset of micrographs or tilt-series to be processed downstream.
Creating filters
Click inside the Pre-processing block and go to the Table view.
Create a new filter by providing a name and clicking Save.
Add new criteria to the filter using the +Add button.
Select the desired parameter from the dropdown list and set the desired range using the sliders.
Use Apply filters to preview the results of the filter.
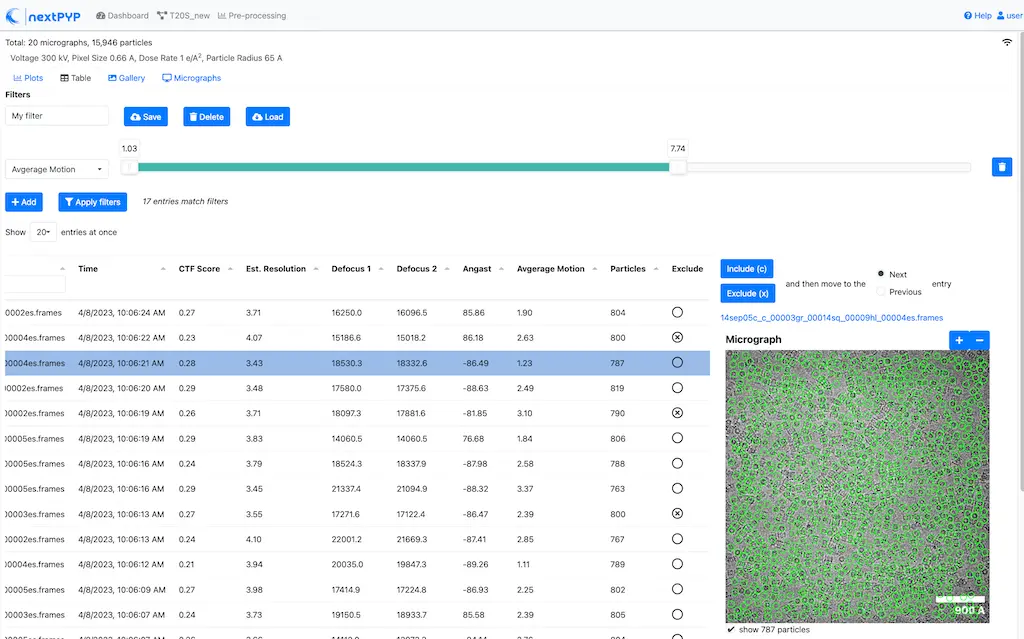
You can also manually include or exclude individual micrographs or tilt-series using the Exclude column in the table. Shortcuts are provided to facilitate the labeling of large datasets, for example, type x to exclude and c to include an image and advance to the next or previous entry in the table.
Once you are satisfied with the results, click Save to store the filter settings.
Here is a screenshot showing the use of filters in the Pre-processing block:
Tips
You can create multiple filters by providing a new name and clicking Save.
Previously saved filters can be retrieved by clicking Load and selecting the name of the filter from a list.
Once a filter is loaded, it can be edited, or deleted by clicking Delete (this operation cannot be undone).
Applying filters
Filters are applied to blocks downstream of the Pre-processing block
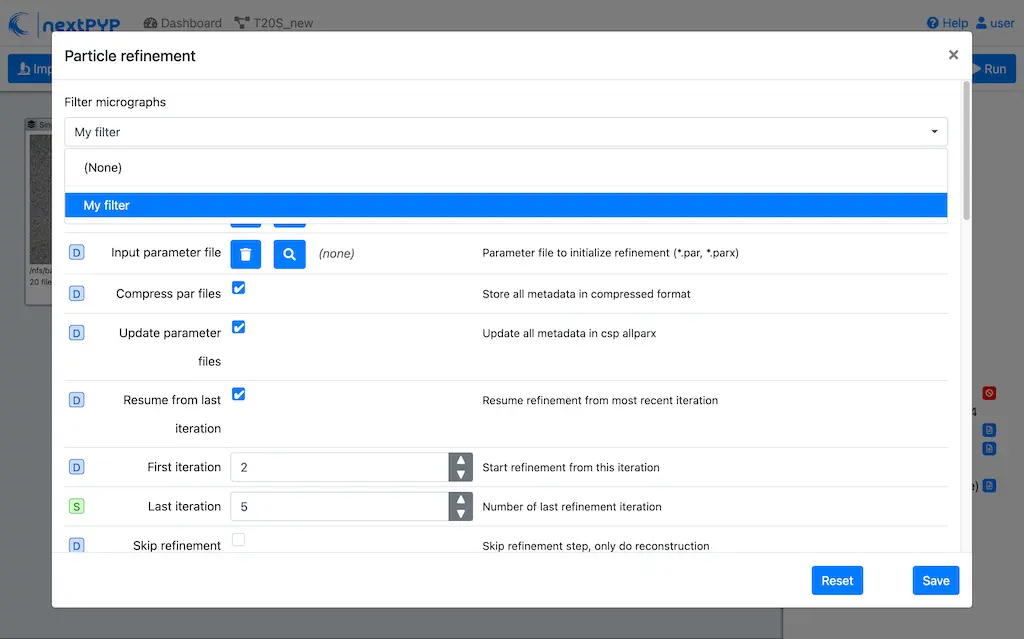
Create a new block downstream from the Pre-processing block. Select the name of the desired filter from the Filter micrographs or Filter tilt-series dropdown menu, and click Save. When you execute the new block, only the micrographs (or tilt-series) selected by the filter will be processed.
Tips
Filters are only applied when first running blocks downstream of the Pre-processing block. If a filter is updated or a different filter is selected, the option to
Delete files and datamust be selected before re-running the block (or a new block downstream of the Pre-processing should be created).You can experiment using different subsets of micrographs or tilt-series by creating multiple Particle refinement blocks and selecting a different filter for each block.